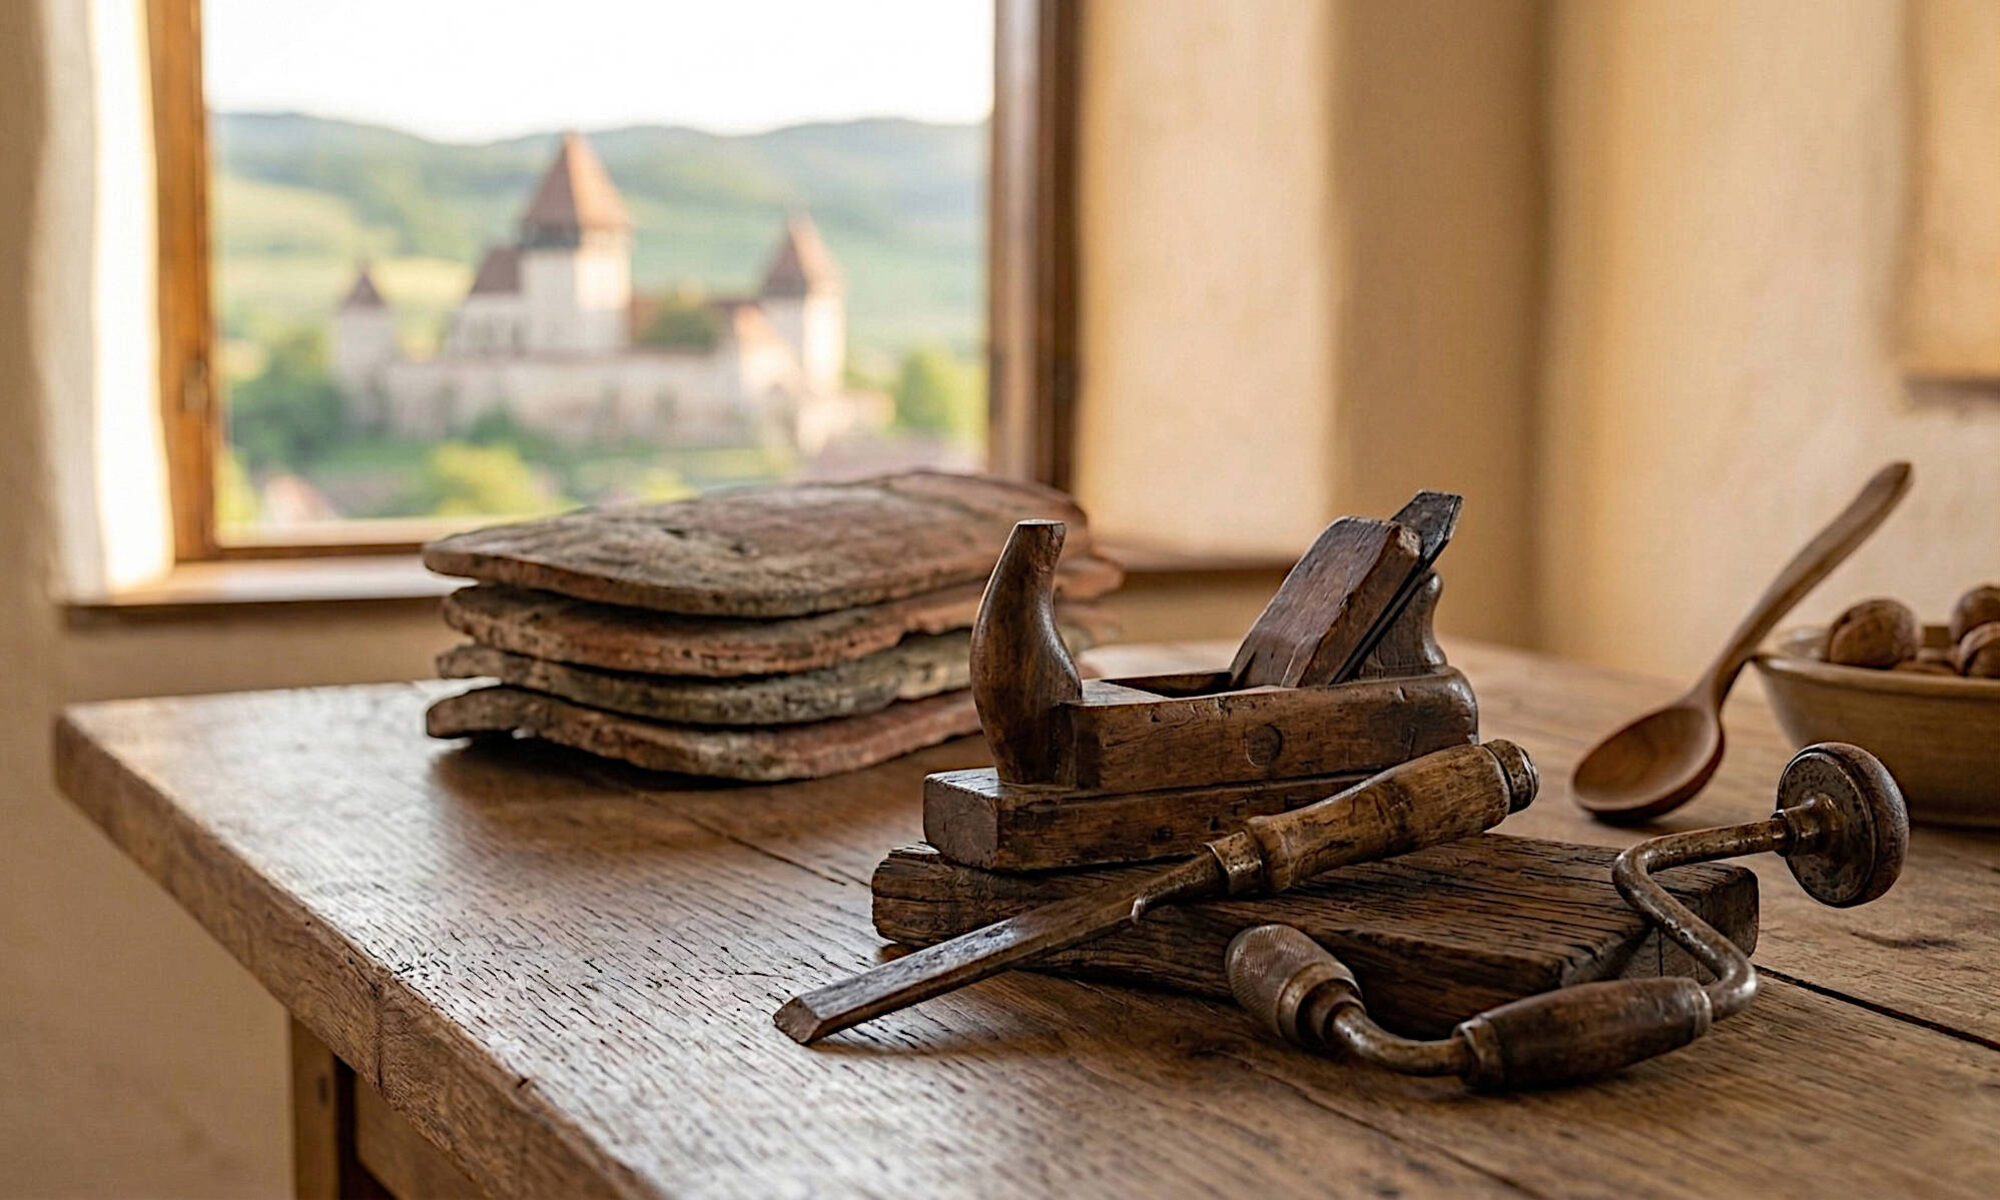
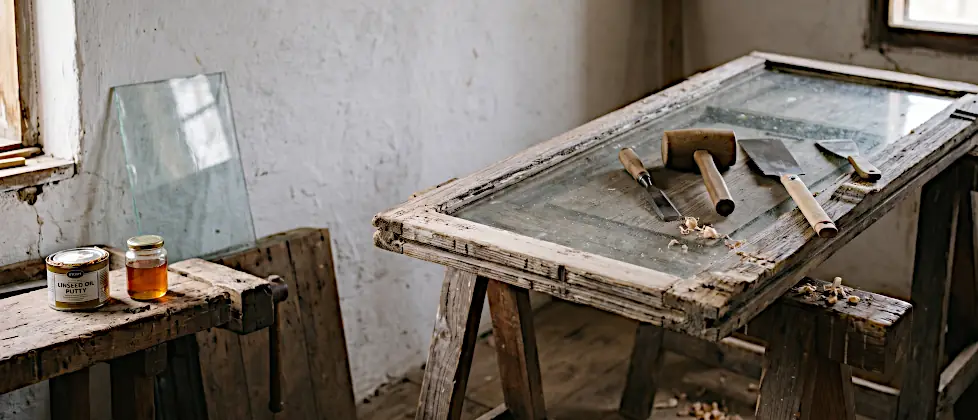
Window sash repair instead of replacement: a rotten or cracked weatherboard – the angled bottom rail of a window sash – is almost never a reason to replace a historic box window or timber window. The damaged wood is cut out back to sound timber and replaced with a precisely fitted wood patch (a so-called Dutchman) with angled glue surfaces. The wood is then saturated with half oil, the pane is reset in pure linseed oil putty, and the sash is painted with linseed oil paint. This way, around 90 percent of the original material is preserved.
- Time required: around 3–4 weeks – most of it is curing and drying time, not actual work
- Difficulty: moderate – good hand tools and patience matter more than machines
- Key materials: seasoned heartwood, D4 glue, half oil, linseed oil putty, linseed oil paint
Anyone who doesn’t just live in an old building but understands and restores its fabric will sooner or later face the task of repairing the original box windows. When I began restoring my Transylvanian Saxon farmhouse, built in 1888 in Cincu (Großschenk), it was clear to me from the start that replacing them with factory-made double-glazed units was out of the question.
The proportions of the frames, the historic glass with its slight ripple against the light, and the craftsmanship of wood more than a hundred years old shape the face of the house. The windows form the delicate interface between the massive walls of field-fired brick laid in clay mortar and the outside world. But Transylvania’s continental climate, with hot summers and cold winters, leaves its mark on even the most solid craftsmanship.
In this article, I describe step by step how I repair the weathered weatherboards on my historic box windows without replacing the whole sash, glue in wood patches with millimetre precision, and reset the original panes the traditional way in linseed oil putty.
What is a weatherboard – and why does it rot first?
The weatherboard (German: Wetterschenkel or Wasserschenkel) is the lower, outward-sloping rail of a window sash. It sheds rainwater away from the window and lets it drip off via a drip groove. Because it takes the most water, it is the weak point of every timber window.
The outer sashes of box windows in particular are exposed to driving rain, sun and frost for decades. Once the old paint becomes brittle and cracks, moisture gets into the wood. The wood swells, cracks widen, and standing water eventually leads to rot.
Modern window makers will then often declare the sash beyond saving. In structural terms, that is rarely the truth.
Repair instead of replace: why preservation pays off
In the late 19th and early 20th centuries, quality windows were usually made from slow-grown heartwood – mainly resinous pine or oak. The trees grew in dense stands, so the growth rings are very close together. Such wood is rich in resin, weather-resistant, resistant to pests and, above all, dimensionally stable. Modern, fast-grown plantation timber has wide growth rings and moves much more.
Even if the weatherboard is badly weathered, deeply cracked or soft in places, the rest of the frame is usually in good condition. If you replace only the damaged section with a patch, you save around 90 percent of the original material. With proper care, a sash repaired this way will easily last for decades more.
Materials and tools
You don’t need an arsenal of machines, but you do need good materials and, above all, very sharp hand tools. Dull blades tear the wood fibres instead of cutting them – and the glue joints end up untidy.
Materials
| Material | Used for | What to look for |
|---|---|---|
| Seasoned heartwood | Patch (Dutchman) | Same species as the window; ideally old beams or floorboards from demolished houses of the same period – for identical swelling and shrinkage behaviour |
| Waterproof D4 wood glue | Gluing in the patch | I use PU (polyurethane) glue: weatherproof, very strong, foams slightly and bridges fine gaps. Epoxy is possible but controversial in heritage conservation: it is much harder than wood, doesn’t move with it and can trap moisture at the bond line |
| Half oil | Deep-penetrating primer | 50 % raw, cold-pressed linseed oil + 50 % gum turpentine |
| Pure linseed oil putty | Glazing | Only chalk (whiting) and linseed oil or boiled linseed oil – no synthetic resins or plasticisers |
| Glazing points (sprigs) | Holding the pane | Galvanised or brass-plated (won’t rust) |
| Pure linseed oil paint | Top coat | Vapour-permeable; no acrylic or alkyd paints |
Tools
- Bench chisels in several widths (e.g. 10, 20 and 26 mm) – hone them razor-sharp on a fine stone and a leather strop with polishing compound before you start.
- Wooden mallet – never strike a wooden-handled chisel with a metal hammer.
- Japanese saw (dozuki or ryoba) – cuts on the pull stroke, thin blade, clean cuts without tear-out.
- Infrared paint remover (e.g. Speedheater) – softens paint and putty with even, moderate heat, without scorching the wood or cracking the glass with concentrated heat. A heat gun also works, but quickly gets too hot for glass and lead-based old paint.
- Putty knife, hacking knife and profile scrapers for clearing out the rebates.
- Clamps with suitable reach, plus soft pads.
- Hand plane, possibly a plough plane or small router for the drip groove.
- Sandpaper in 80, 120 and 180 grit.
Timeline at a glance
| Step | Waiting time afterwards |
|---|---|
| Removing the sash, stripping paint, removing the glass | – |
| Gluing in the patch | approx. 24 hours curing |
| Priming with half oil | 1–2 days drying |
| Glazing with linseed oil putty | usually 1–3 weeks until a skin forms (check the putty’s data sheet) |
| 3 coats of linseed oil paint | 24–48 hours each (longer in cool weather) |
Window sash repair: fixing the weatherboard in 7 steps
Step 1: Remove the sash, assess the damage and strip the paint
I lift the affected outer sashes off their pintle hinges. Over the decades, old frames have warped in their own individual way – every sash is unique. So I mark a hidden inner face with a pencil or number punches to record which room, window and hinge it belongs to. That way I know exactly where each sash goes when I rehang it.
I lay the sash flat and stable on two trestles. With a screwdriver I press into the weathered, grey areas: where the wood gives way, soft and spongy, rot (usually brown rot, which breaks down cellulose) has destroyed the wood structure. This section has no structural value and has to go.
Before sawing, I remove the old paint in the repair area – better still, on the whole sash. I heat it with the infrared heater or a heat gun until it blisters, then pull it off with a sharp scraper. Only bare wood shows the true extent of the damage. I mark the area to be cut out generously, back to hard, pale, sound wood.
Safety notes: Old paint can contain lead. Work at low temperature, with good ventilation and a respirator (FFP3), and collect the paint waste separately. Old, dry wood can smoulder when heated – keep water to hand and don’t leave the sash unattended straight after stripping.
Step 2: Safely remove the historic glass
So that the old pane – often hand-blown cylinder glass or early drawn glass – doesn’t crack from vibration or stress during chiselling, it has to come out. I always remove it completely so I can work the frame cleanly and oil it all over later.
Decades-old, rock-hard putty tests your patience. Hack at it with a chisel and you risk the glass, which is under tension, breaking.
My tip: Aim the infrared heater at the putty bevel and shield the centre of the pane with cardboard or thin sheet metal. Old linseed oil putty softens again at around 80–90 °C and can be pushed out of the rebate with the hacking knife.
Under the putty are the old glazing points. Pull them out with flat end-cutting pliers, without resting the jaws on the glass. Then carefully lift the pane out and store it upright and padded. Finally, scrape the remaining putty – including the bedding putty under the pane – out of the rebate down to bare wood.
Step 3: Cut out the damage and make the patch with a scarf joint
Cut the damaged wood out along the marking – but not with a straight 90-degree cut. I work with a scarf joint: I saw the ends of the damaged area at an angle of roughly 30 to 45 degrees.
The advantage: the glue surface becomes much larger, shear forces are better absorbed, and the joint is less likely to open up with temperature changes than a plain butt joint.
I saw the angled ends with the Japanese saw and chisel out the wood in between, layer by layer, until I reach a clean, flat base. The more precisely the surfaces line up, the tighter the patch will fit later.
I measure the recess and cut the patch with matching opposing angles. I leave it 1–2 mm oversize in height and depth.
Grain direction is crucial: the grain of the patch must run exactly like that of the weatherboard (long grain to long grain), and the growth rings should be oriented similarly. Only then will both pieces of wood swell and shrink alike in autumn fog and summer heat.
I dry-fit the piece first: it should slide into the recess snugly and firmly, but without force.
Step 4: Glue, shape and cut the drip groove
After thoroughly dusting off the contact surfaces, I apply the D4 glue thinly and evenly to all of them (with PU glue it helps to dampen one side slightly – follow the manufacturer’s instructions). I insert the patch and clamp it quickly.
Always put soft pads between the clamp jaws and the window wood – otherwise you’ll dent the soft softwood. Don’t wipe away foaming PU glue while it’s wet, or you’ll smear it into the pores. It’s better to let it cure to a rubbery state and then pare it off with a chisel.
After about 24 hours of curing, I take the patch down shaving by shaving with a plane or a wide chisel until it blends flush and seamlessly into the historic profile. I finish with 80 and then 120 grit.
Don’t forget the drip groove
A common beginner’s mistake is forgetting the drip groove (also called a throating or drip). This is a small lengthwise groove on the underside of the weatherboard, set slightly inwards. Running water creeps along the underside of the wood towards the frame through adhesion. The groove interrupts this path: the water collects in front of it and drips onto the sill. If you cut into the groove while removing the damaged wood, it has to be reworked into the new patch with a plough plane or small router.
Step 5: Deep priming with half oil
Untreated wood would quickly turn grey outdoors and soak up water. Instead of solvent-based anti-blue-stain products, I use traditional half oil, made of 50 percent raw linseed oil and 50 percent gum turpentine.
The turpentine thins the viscous linseed oil and lets it soak deep into the wood pores. There, the linseed oil doesn’t harden by evaporation but by oxidation with oxygen from the air. It polymerises into a firm, elastic mass (linoxyn) that makes the wood water-repellent while keeping it vapour-permeable.
I brush the whole frame and the patch “wet on wet” until the wood is saturated and won’t absorb any more. After about half an hour I wipe off the excess with a rag and leave the sash to dry for 1–2 days in a well-ventilated place.
Safety warning: Rags soaked in linseed oil can ignite spontaneously. Spread them out flat outdoors to dry or store them airtight in a screw-top jar.
Why saturation matters so much: on dry, unsaturated wood, the “hungry” wood immediately draws the oil out of the fresh putty. The putty chalks, becomes brittle, cracks and crumbles out of the rebate.
Step 6: Glazing with pure linseed oil putty
- Lay the bedding putty: Knead the linseed oil putty in your hands until it is as pliable as marzipan. Press a thin, continuous bead all the way round the cleaned rebate – the cushioning, sealing bed for the glass.
- Set the pane: Place the cleaned glass on the bed and press it down along the edges with steady pressure until it sits evenly with no gaps. Never press on a single point in the middle – old glass is often uneven and will crack.
- Fix the glazing points: Drive a galvanised or brass-plated point into the wood roughly every 15–20 cm, just above the pane – with a glazier’s hammer or the flat side of a wide chisel, without putting stress on the glass.
- Form the putty bevel: Press the remaining putty into the rebate over the points with your thumb. Smooth it with the putty knife at a steady 45-degree angle in long strokes. The bevel finishes flush with the wood at the top and runs out cleanly onto the glass at the bottom – so water drains outwards.
My tip: If the putty sticks to the knife, dampen the blade very slightly with diluted soapy water (traditionally, with a little spit). Then it glides over the putty without leaving drag marks.
Step 7: Top coat with genuine linseed oil paint
Give the putty time in the open air before you paint over it – depending on the product, temperature and humidity, usually one to three weeks. During this time it forms a firm skin through oxidation, while the core stays elastic. Some manufacturers allow earlier painting; what counts is the data sheet of your putty.
For weather protection, I use only pure linseed oil paint. Modern acrylic paints or window paints with alkyd resins form a hard, vapour-tight layer that eventually peels and traps moisture in the wood.
Linseed oil paint is applied in three very thin coats: brush it out well with a stiff brush and work it into the pores. Coats that are too thick wrinkle and stay soft inside for months. Let each coat dry thoroughly for 24–48 hours.
The most important stroke comes last: on the final coat, deliberately paint 1–2 mm beyond the putty onto the glass. This overlap seals the joint between putty and glass and stops rainwater from creeping behind the putty by capillary action.
The 6 most common repair mistakes
- Not cutting out deep enough – remaining rot keeps spreading under the patch.
- Butt joint instead of a scarf joint – the glue line opens up with temperature changes.
- Wrong grain direction or fresh wood for the patch – the patch moves differently from the original.
- Forgetting the drip groove – water runs back into the frame.
- Putty on unprimed wood – the putty loses its oil and crumbles.
- Synthetic resin paint instead of linseed oil paint, or coats that are too thick.
Frequently asked questions (FAQ)
Can a rotten weatherboard be repaired, or does the window have to be replaced?
In most cases it can be repaired. The damaged wood is cut out back to sound timber and replaced with a glued-in patch. Replacement is only necessary if the frame corners and joints are also extensively destroyed.
How can I tell whether the wood is still sound?
Press a screwdriver into the suspicious areas. Sound wood is hard and barely gives. Soft, spongy or crumbly wood has been destroyed by rot and must be removed.
Which glue is suitable for an exterior wood patch?
A waterproof glue rated D4, for example PU glue. Epoxy is also possible but is considered controversial in heritage conservation, because it is much harder than wood, doesn’t follow its swelling and shrinking, and can trap moisture.
Why does the wood need priming with linseed oil before puttying?
Unsaturated wood draws the oil out of linseed oil putty. The putty becomes brittle, cracks and falls out of the rebate. Priming with half oil prevents this.
How long does linseed oil putty need to dry before painting?
Depending on the product and the weather, usually one to three weeks until a firm skin has formed on the surface. The core stays elastic. Some manufacturers give shorter times – what counts is the data sheet.
Why shouldn’t historic windows be painted with acrylic paint?
Acrylic and alkyd paints form a hard layer with low vapour permeability. Moisture gets trapped underneath, the paint peels and the wood rots. Linseed oil paint stays vapour-permeable and is easy to touch up.
Conclusion: craftsmanship that pays off
With this method you not only save the cost of new windows, you also preserve a piece of craft history. The weatherboards I repaired this way on my house have withstood Transylvanian winters and summers since 2018 without new cracks or moisture damage. It is almost meditative work, through which you truly come to understand the physics and longevity of natural building materials.
Suppliers and further reading
Pure linseed oil putty and paint systems are available, among others, from Kreidezeit Naturfarben and under the Leinölpro brand from natural building material suppliers (both German). Check the data sheet when buying: products containing solvents or synthetic resins are sometimes also sold as “linseed oil paint”.
In-depth background knowledge and training in window restoration (in German) are offered by the Propstei Johannesberg in Fulda – formerly the “German Centre for Crafts and Heritage Conservation” – together with its advisory office for crafts and heritage conservation.