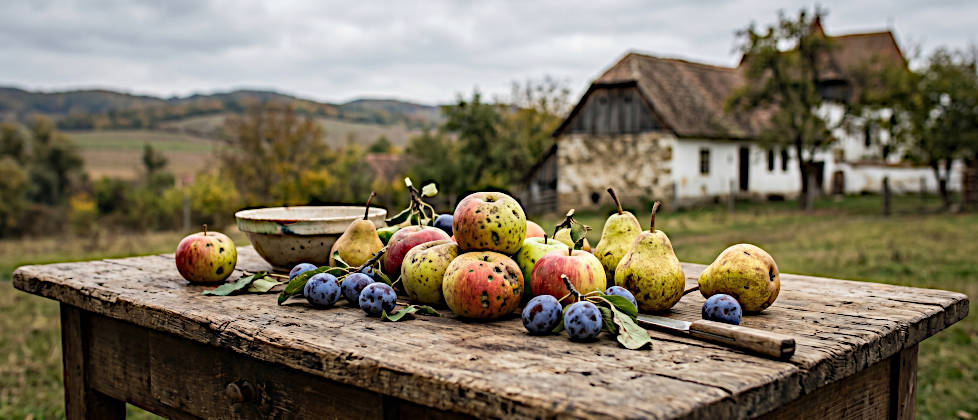
The thought of standing in a cool, shady outdoor kitchen on a hot July day, while the scent of fresh herbs and roasted food wafts through the garden, is deeply soothing. In the past, the summer kitchen was standard in the countryside – it kept the heat of the stove away from the main house and was the center for preserving the harvest. Today, this place is experiencing a renaissance.
In this post, I will show you how to renovate an old summer kitchen, what practical benefits it offers you today, and what you should consider during the planning phase.
A Look at Transylvania: From Wooden House to Stone Courtyard
To truly understand the origin and necessity of the summer kitchen, it is worth taking a look at the historical construction methods, for example in Transylvania. In the past, pure wooden houses dominated the villages there. Wood was abundantly available in the adjacent Carpathian Mountains and was the logical building material of choice.
However, due to intensive mining, agricultural clearing, and the generally high demand for wood, the forests shrank visibly. In the 18th century, the rulers of the Habsburg Empire – especially Maria Theresa – intervened rigorously. In order to conserve the valuable wood resources and above all to contain the devastating village fires that regularly destroyed wooden houses, the construction of stone houses was heavily promoted and partly made compulsory.
In the course of this, the architecture of the farmsteads changed massively. To minimize the risk of fire and the enormous heat development in the new, massive main house, fire-intensive activities were relocated. Baking, laundry care, and, of course, cooking in the hot months now took place in a separate building. The summer kitchen became a fixed, indispensable component, not only of the Transylvanian Saxon farmstead.
Why Reactivation is Worth It for You
Before you reach for the hammer, it is good to visualize the added value today. A summer kitchen is much more than just a covered barbecue area.
- Thermal relief: Your residential house stays significantly cooler in the summer, as the oven and stove are operated outside.
- Odor control: Strong odors from roasting, deep-frying, or preserving dissipate immediately in the fresh air and do not settle in your living spaces.
- Social center: Cooking transforms from an isolated process in the house kitchen into a communal experience outdoors.
- Harvest processing: If you grow your own fruit or vegetables, you can wash, clean, and preserve them directly in the garden without carrying the dirt into the house.
My tip: Check the existing connections in your outbuilding beforehand. Often, under old floors or in the walls, there are still water pipes or power connections that can be reactivated by a professional with manageable effort. This saves you high development costs for your project.
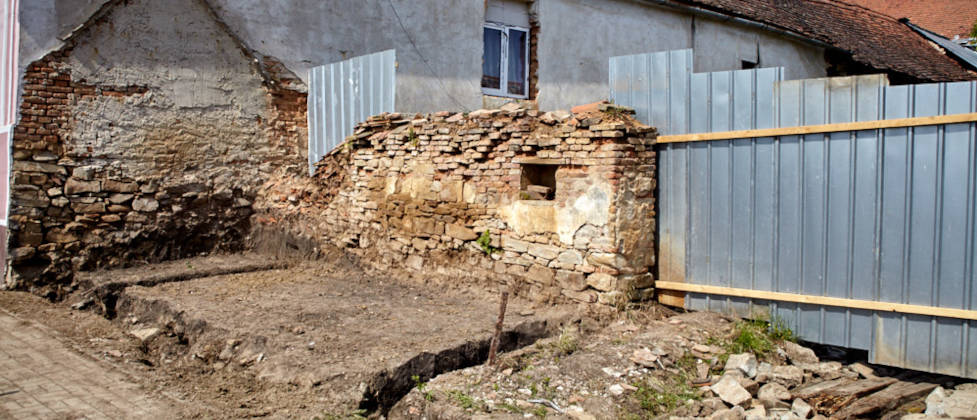
Step by Step: Renovating Old Substance
Many old summer kitchens are located in former washhouses or sheds. The building fabric is usually solid but requires attention after years of vacancy.
1. Inventory and Drainage
Often, rising damp is the biggest problem. Check the roof and the floor slab. If you are renewing the floor, ensure a slight slope towards the door – this way, you can easily hose down and clean the room later.
2. The Choice of Surfaces
In a summer kitchen, which is usually not heated in winter, there is fluctuating humidity.
- Walls: Pure lime plaster or silicate paints are ideal, as they are breathable, regulate moisture, and naturally prevent mold growth.
- Worktops: Natural stone, polished concrete, or hard-wearing tiles are robust, weatherproof, and easy to clean.
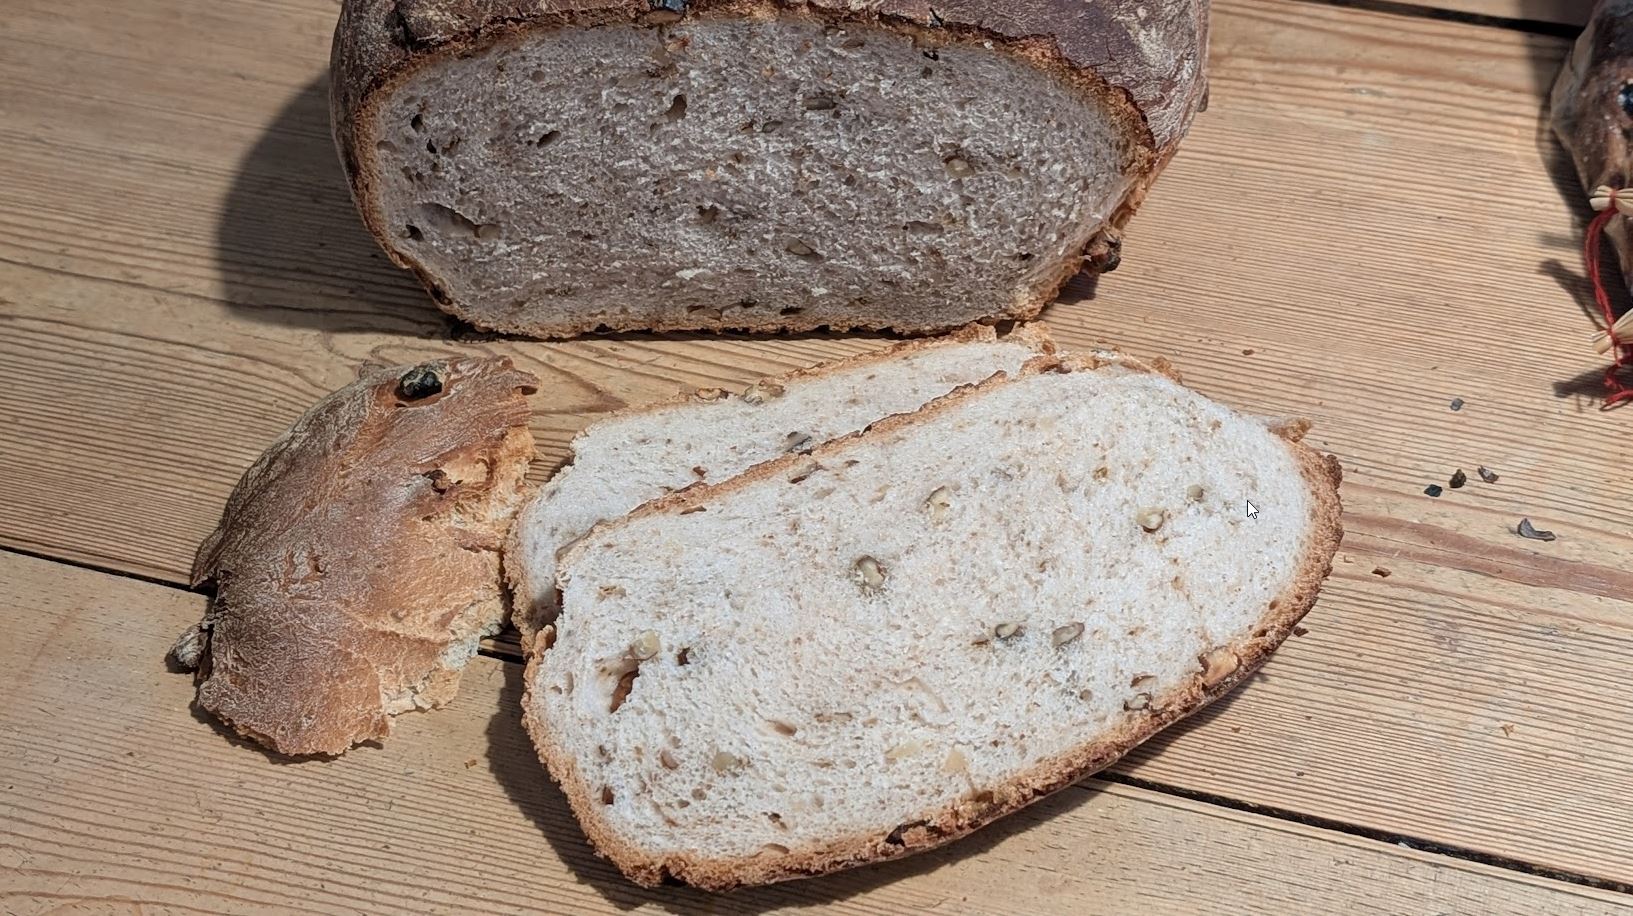
3. Stove and Oven: The Heart
An old, wood-fired kitchen stove exudes pure nostalgia, but is often impractical for a quick coffee. A clever combination of a modern induction hob (for everyday use) and a restored wood-fired oven or barbecue fireplace offers you maximum flexibility.
Equipment and Functionality
To make working in your new old summer kitchen a joy, the ergonomics must be right. Think about short distances between the sink, workspace, and cooking area.
- Lighting plan: Since you will often sit outside and cook late into mild summer evenings, good, glare-free lighting of the workspaces is essential. Indirect, warm white light also creates the necessary atmosphere when the food is on the table.
- Storage space: Use open shelving systems made of metal or oiled wood. Closed cupboards in unheated, damp rooms tend to develop musty odors over the winter months.
Further Information and Sources
If you want to delve deeper into the matter, these contact points will help you with your planning:
- The Renovation Bible: An absolute must for your project is the book „Das sächsische Bauernhaus in Siebenbürgen. Was wie machen an alten Häusern“ by Jan Hülsemann. It is rightfully considered the bible for renovators of Transylvanian farmsteads and provides you with invaluable, practical tips on preserving the historical substance.
- Building culture and history: You can find more about the historical development of farms and construction methods in Transylvania at the Fortified Churches Foundation (Stiftung Kirchenburgen), which deals intensively with the architectural heritage of the region.
- Traditional crafts and building materials: A local network is crucial for an authentic renovation in Transylvania. The Mihai Eminescu Trust is strongly committed to preserving the village building culture and often provides contacts to traditional craftsmen (such as clay builders) or sources for historical materials (e.g., hand-molded bricks). Another way is to ask directly in neighboring villages for unused demolition material.
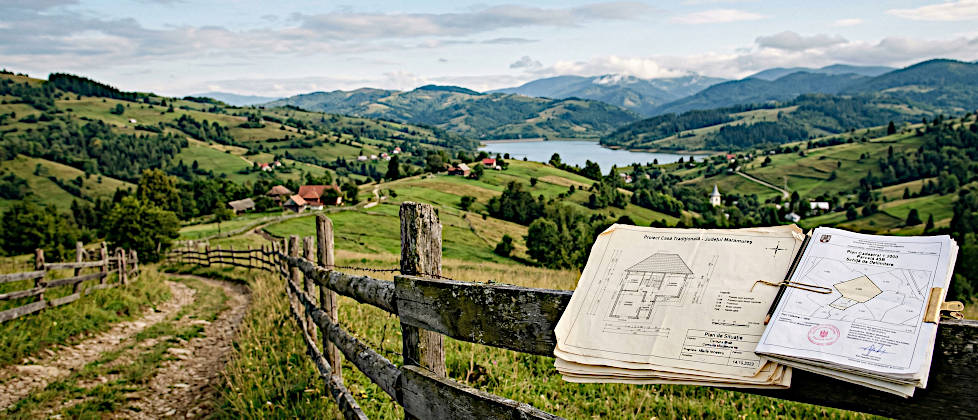
- Local building law (Romania): The first step for a building permit (Autorizație de construire) leads to the local town hall (Primărie). If your farm is located in a protected zone, the County Directorate for Culture (Direcția Județeană pentru Cultură) must be involved. To reactivate old chimneys, you should also consult a local chimney sweep (Coșar) to meet the current fire protection regulations of the fire brigade (ISU).