Why cement damages old brick walls: it traps moisture in field-fired brick and clay mortar, and frost and salts do the rest.
The invisible destruction: what the supposedly stronger building material does to historic walls.
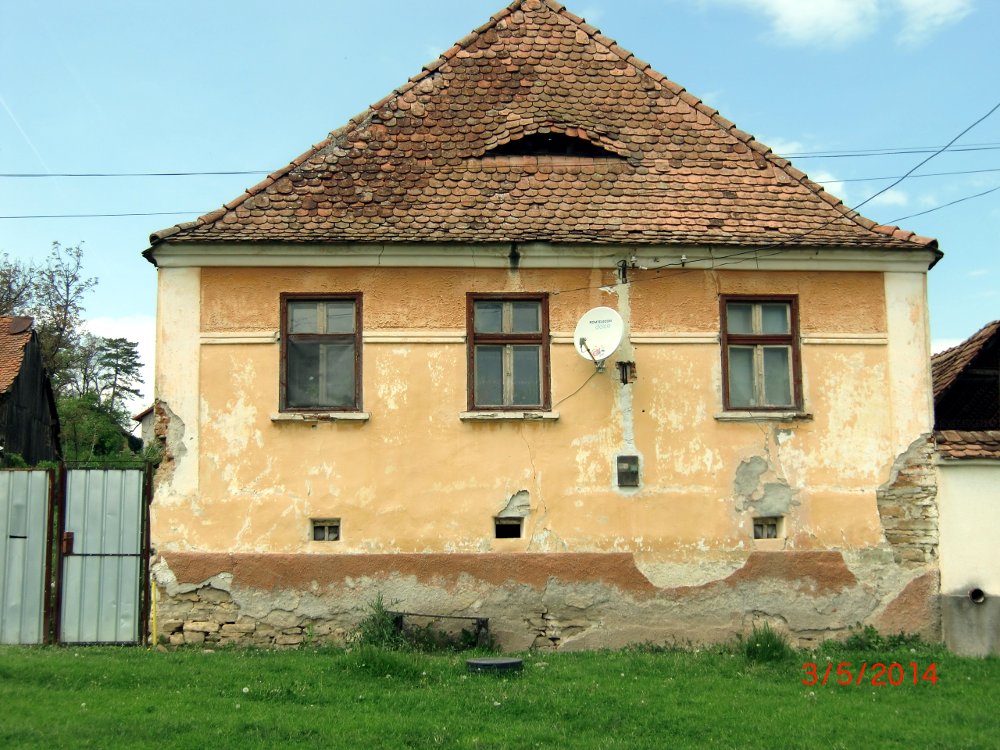
When I bought the farmhouse in Cincu (Großschenk) in 2016, the biggest challenge was not the structure but an invisible danger: the cement trap. All over Transylvania I see historic building fabric being destroyed by well-meant but wrong renovation. Perhaps the knowledge of the material properties is simply missing, but I rather suspect it is the cost and the ‘quick fix’ that make people reach for cement-based materials.
Every now and then I have looked at houses that were repaired with cement-based materials. My house was in a pretty poor state, but precisely because nobody had laid a hand on it yet.
My mission for the Casa lui Fred was therefore clear from the start: I want to save the house and respect its original rules. Because modern, hard materials are the silent enemy of this old masonry.
The traditional “soft system”
To understand why cement has no place here, you need to know the materials that protected the house for generations:
-
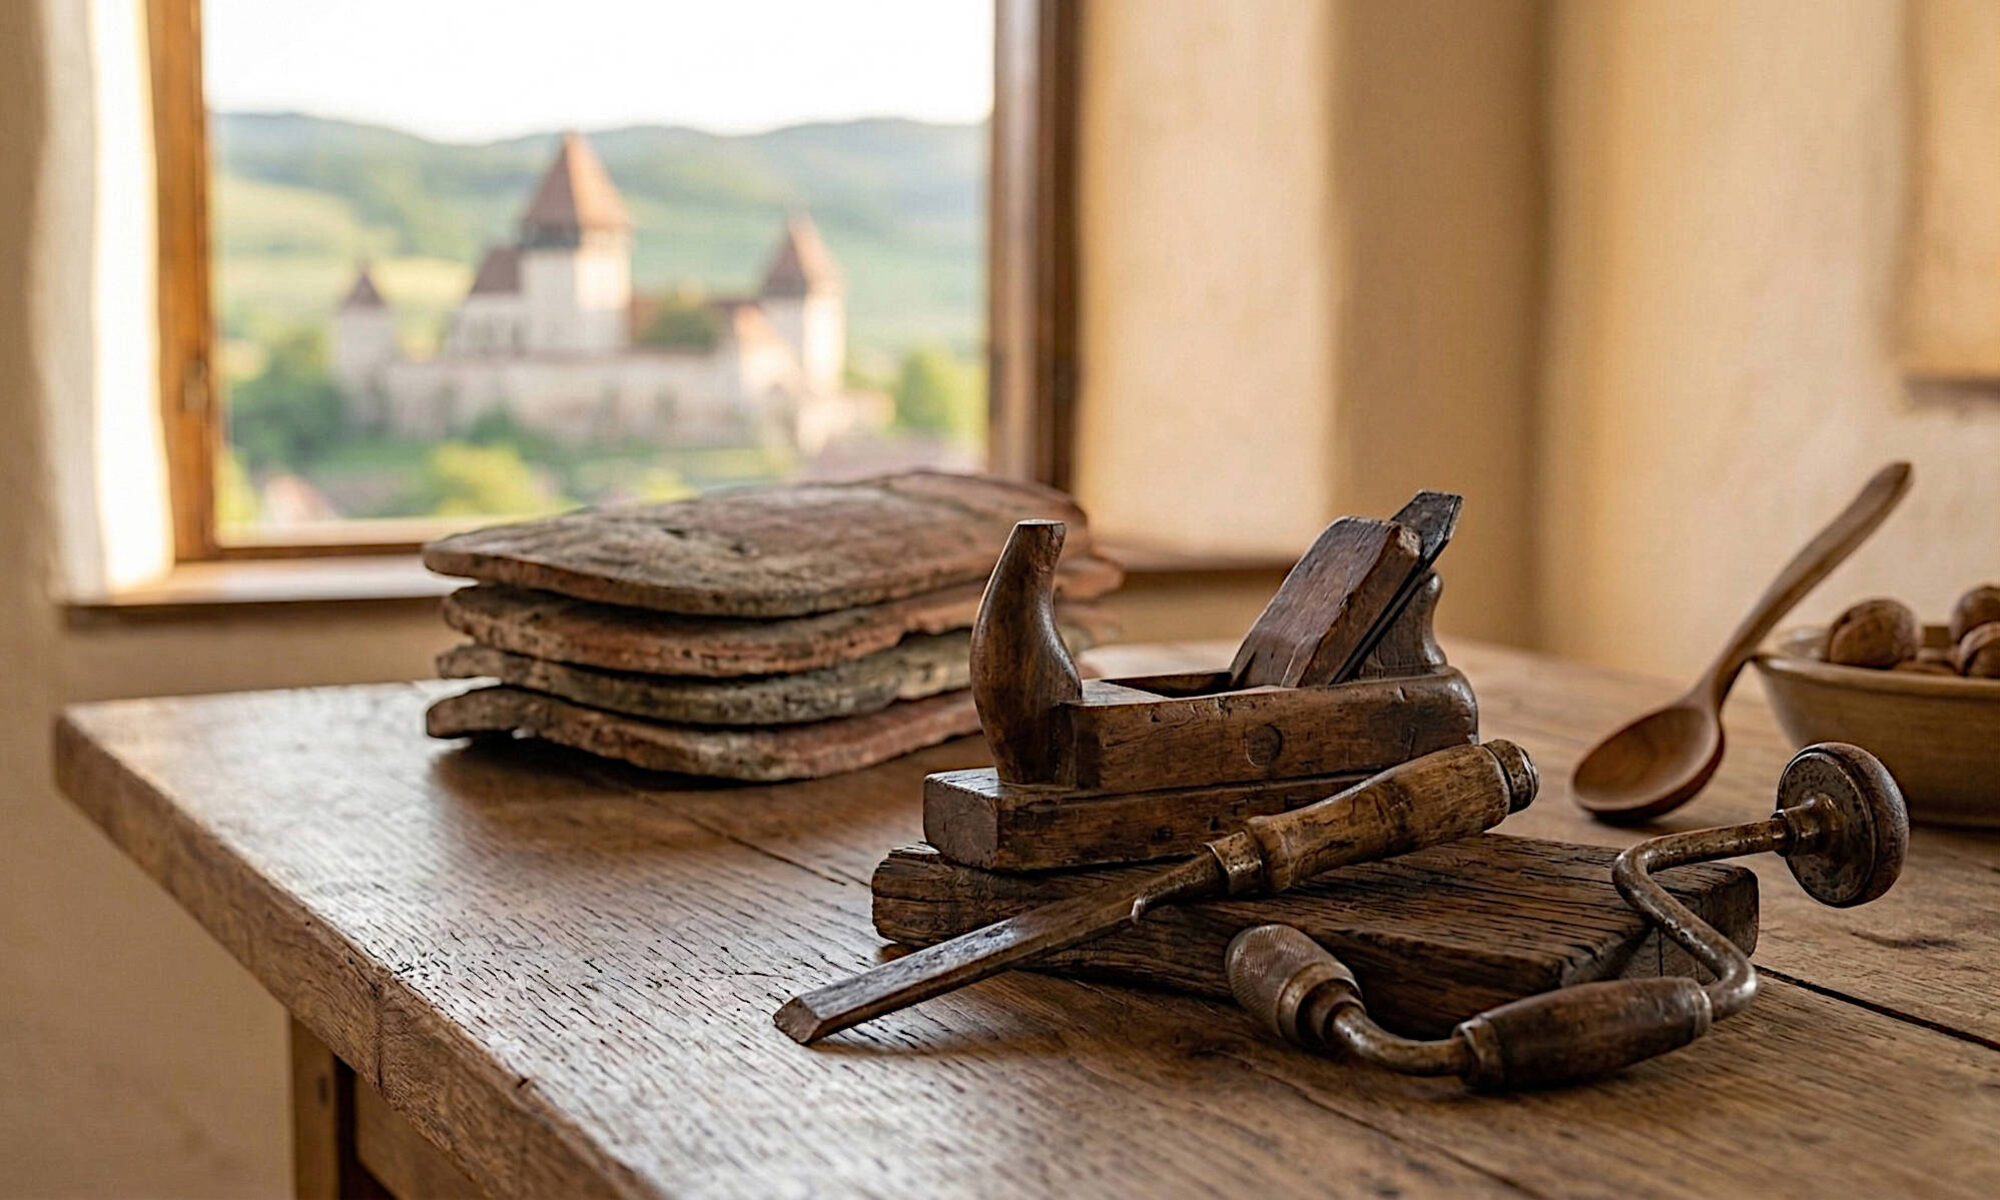
The soft stone: field-fired bricks. These bricks were fired at a low temperature. That makes them less strong than modern clinker bricks but gives them a high porosity. They are soft and flexible – properties that are decisive for the whole system.
-
The flexible joint: clay as mortar. The walls are laid in clay. Clay is hygroscopic – it can absorb moisture and release it again. It cushions slight settlement of the old house over decades.
-
The breathing coat: lime plaster. The walls are rendered with lime plaster. Lime is the perfect shield: it is vapour-permeable. It protects against rain, but when moisture rises from inside or from below, it can escape through the plaster as vapour (moisture regulation).
II. The physical incompatibility: cement, the silent destroyer
The problem begins when hard, dense cement enters this soft system.
Cement is not vapour-permeable. It acts like a plastic bag around the wall:
-
The wrong moisture path: Moisture that naturally rises in the masonry (or comes from inside) meets the dense cement. It cannot escape.
-
The concentration: Instead of being led outwards, the moisture accumulates in the nearest soft spot – the clay joint and the field-fired brick directly behind the cement.
-
The destruction: In frost, the water in the pores freezes and bursts the material. Salts also crystallise and grind the fabric down from the inside. The wall crumbles away until only the hard but useless cement render is left. That is the moment when the walls, as the saying goes, forget how to breathe.
III. My mission: the strategy of preservation
The decision on how to renovate the Casa lui Fred was therefore a return to the building principles that kept the house functional for over 150 years.
-
I rely consistently on lime plasters. The plaster must always be softer than the stone beneath it – a basic rule of conservation.
-
I am restoring the house’s natural moisture regulation, which ensures a healthy, breathing indoor climate.
-
Renovating old farmhouses is an art that requires respect for the material. I am showing that the best way to preserve the building culture of Transylvania is not modern technology but the wisdom of our forebears. Conservation begins with the choice of material.
- Savings through modern materials – a contradiction?
I try to buy old materials locally wherever I can get hold of them: bricks, rubble stone, old beams, doors, roof tiles (plain tiles) …
But at the same time I have a time problem and a tight budget for realising my project. So I also fall back on modern materials – deliberately and with care. The focus is on preserving everything old that still exists. What no longer exists I replace with modern materials – I think that if our forebears had had the option, they would have done the same.
Take the former summer kitchen as an example. One of its outer walls was also the boundary wall on which the big gate was hung. At some point it collapsed, after the roof had leaked and the rain had washed the clay out of the joints over many years.
Of the 4 walls only one is still standing. The upper third of that wall is also very dilapidated. So I will take down the dilapidated part and rebuild the wall with old materials. The other 3 walls I will build with large-format hollow clay blocks – including a frost-proof concrete foundation underneath.
For the three walls I need exactly as long as for the upper third of the old wall with standard-format bricks. The concrete foundation ensures that the yard gate, with its large surface exposed to the wind, will still be firmly anchored many years from now.
The three walls will then be rendered with lime plaster, as was done in the past, and you will no longer see the difference in materials. I am leaving the old wall unrendered. With my compromise between originality and cost optimisation I would like to give an example of how an old building and its character can be preserved even with little money, when a renovation to full conservation standards is not affordable. Perhaps that will help more of these old houses to survive.